centos 7.1下制作google镜像站
一、首先用xshell链接vps
(有个人免费版的,到官网注册即可下载)

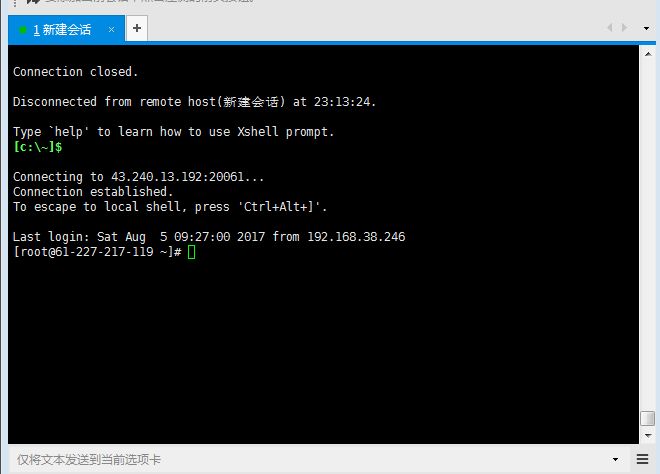
联网后输入命令:
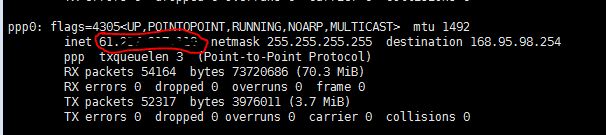
ifconfig
查看本机外网ip,记录后备用:
二、下面进行配置
1.下载文件:
yum install -y gcc gcc-c++ git make
wget "http://nginx.org/download/nginx-1.7.8.tar.gz"
wget "ftp://ftp.csx.cam.ac.uk/pub/software/programming/pcre/pcre-8.38.tar.gz"
wget "https://www.openssl.org/source/openssl-1.0.1j.tar.gz"
wget "https://www.openssl.org/source/openssl-1.0.1j.tar.gz"
wget "http://zlib.net/zlib-1.2.11.tar.gz"
git clone https://github.com/cuber/ngx_http_google_filter_module
git clone https://github.com/yaoweibin/ngx_http_substitutions_filter_module
2.解压文件:
tar xzvf nginx-1.7.8.tar.gz
tar xzvf pcre-8.38.tar.gz
tar xzvf openssl-1.0.1j.tar.gz
tar xzvf zlib-1.2.11.tar.gz
3.进入nginx源码文件夹:
cd nginx-1.7.8
4.设置编译选项:
./configure --prefix=/opt/nginx-1.7.8 --with-pcre=../pcre-8.38 --with-openssl=../openssl-1.0.1j --with-zlib=../zlib-1.2.11 --with-http_ssl_module --add-module=../ngx_http_google_filter_module --add-module=../ngx_http_substitutions_filter_module
5.编译、安装:
make
sudo make install
6.接下来启动, 测试安装是否成功:
/opt/nginx-1.7.8/sbin/nginx -t

7.进入conf文件编辑:
vi /opt/nginx-1.7.8/conf/nginx.conf
按a键可以进行编辑,坐下角会出现insert标志,这是linux基本的命令。按ESC后,输入:wq是保存并退出,输入:q!是不保存退出。

8.将conf文件中server部分修改如下:
server {
    listen       80;
    server_name  www.abc.com;#此处换成该vps的外网ip(前一步得到的那个),或者自己的网址
     location / {
        proxy_pass https://www.google.com;
        proxy_connect_timeout 120;
        proxy_read_timeout 600;
        proxy_send_timeout 600;
        send_timeout 600;
        proxy_redirect    off;
        proxy_set_header X-Real-IP $remote_addr;
        proxy_set_header X-Forwarded-For $proxy_add_x_forwarded_for;
        google on;
        google_language "zh-CN";
       }
  }
ESC后输入保存并退出文件的命令:

9.启动nginx
/opt/nginx-1.7.8/sbin/nginx -c /opt/nginx-1.7.8/conf/nginx.conf
如果此时nginx已经启动,得重新加载一次
/opt/nginx-1.7.8/sbin/nginx -s reload
至此在本地浏览器输入vps的ip地址,已经可以访问google了

标签云
-
LinuxCDNGITWiresharksquidJenkinsVsftpdTensorFlowGolangSambaIOSSwiftSupervisorShellPHPKubernetesWindowsSVNRedhatSQLAlchemyCrontabTomcatSystemdMemcacheFlaskDockerApacheOpenVZMacOS缓存SwarmPostfixAnsibleSSHMariaDBHAproxyCentos代理服务器LUA部署VagrantOffice监控UbuntuKloxoGoogleSnmpNginxWPSSocketWordPressFlutterCurlLVM集群AppleInnoDBIptablesBashNFS容器PostgreSQLFirewalldSecureCRT备份PuttyKotlinDeepinOpenrestyZabbixVPSSaltStackCactiYumOpenStackTcpdumpKVMPythonAndroidiPhoneVirtualboxLighttpdRsyncDNSWgetDebianMySQLVirtualminMongodbRedis